
Many paper crafters and card makers eventually find themselves stuck in a creative rut, wondering how to transform flat, single-impression designs into dynamic works of art. You can significantly expand your rubber stamp uses by mastering advanced techniques such as masking, heat embossing, and mixed-media layering, which allow you to build rich visual depth and tactile textures on your paper projects. However, successfully executing these methods depends on understanding how your specific inks, papers, and tools interact. By verifying material compatibility and performing simple scrap-paper tests before you begin, you can safely push the boundaries of your stationery collection without ruining your hard work.
How can you use masking and layering with rubber stamps to build depth?
Masking and layering allow you to build realistic depth by temporarily covering a stamped foreground image so that subsequent impressions appear to sit naturally behind it. This technique tricks the eye into seeing a multi-dimensional scene on a single, flat sheet of paper. To achieve this effect, you first stamp your primary image onto your project cardstock, and then stamp it a second time onto a temporary medium such as low-tack masking paper, a dedicated masking fluid, or a custom die-cut mask. After cutting out this secondary image precisely along its borders, you place it directly over the original stamped design to shield it while you stamp background elements over and around the masked area.
Before peeling away your mask to reveal the clean, layered scene, you must verify the drying time and formulation of your stamping ink. If you are using slow-drying pigment inks, applying a mask too quickly can smudge the foreground image or cause the ink to bleed into the masking material, transferring unwanted pigment to other parts of your project. Conversely, fast-drying dye inks dry almost instantly but may bleed laterally if the paper fibers are highly absorbent.
Products mentioned in this guide

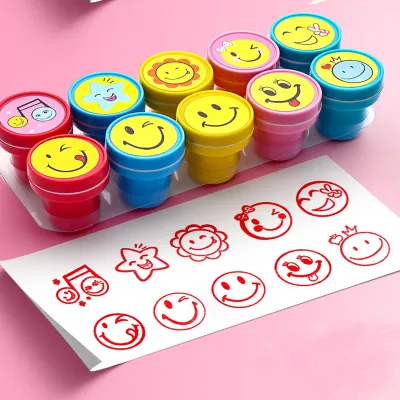
191 Lazada user ratings
Self-inking for convenience, Fun and educational stamps for young children. 🔧Durability: gd quality for the price. 📚Educational Value: the c…Read full reviewShow less
Self-inking for convenience, Fun and educational stamps for young children. 🔧Durability: gd quality for the price. 📚Educational Value: the child is excited to learn what he/she is praised for.
Built-in ink pad, easy to use and clean, various color options available, fun and colorful stamps, a great gift for teachers,
Unique Easter egg design, high-quality materials, suitable for classroom activities, fun and colorful stamps.
A great gift for parties, perfect for arts and crafts,

20 Lazada user ratings
Quality is just right for children to play stamping. Practice fine tuning motor skills. I do not what else to say but I’m adjust writing to …Read full reviewShow less
Quality is just right for children to play stamping. Practice fine tuning motor skills. I do not what else to say but I’m adjust writing to ful fill the criteria
Fast delivery and items received as per descriptions, well packed and thank you
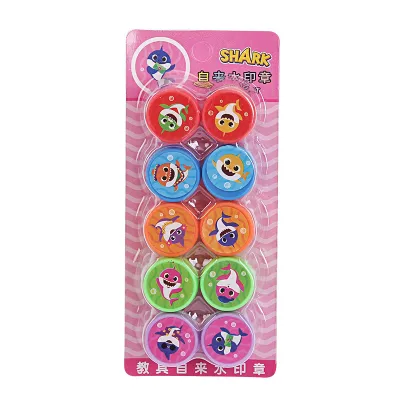
13 Lazada user ratings
Great for birthday party favors, Non-toxic for kids, good buy! Great value, 1 or 2 stamps may be dry but majority ok
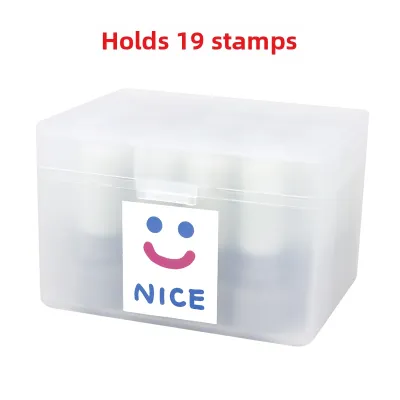
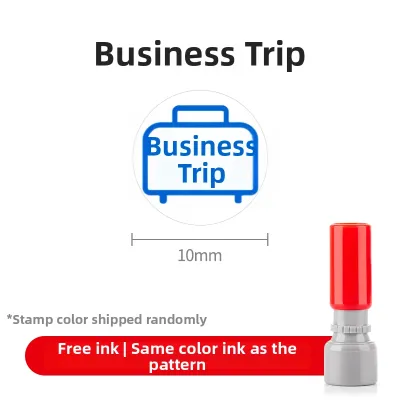
9 Lazada user ratings
Ok. Size is small… what I needed
Prices are valid at publication and may change. Please refer to the product page for the latest price.
To ensure a crisp finish, always test your paper’s opacity and weight on a scrap piece first. Layering multiple ink impressions, especially when blending background colors with brushes or sponges around your mask, subjects the paper to significant moisture. Lightweight papers or those with low opacity may warp, pill, or allow the ink to bleed through to the back of the card, so opting for a heavy, high-quality cardstock is essential for multi-layered stamping.
What are the prerequisites for heat embossing rubber stamp impressions?
Heat embossing requires a slow-drying embossing ink, a fine-grade embossing powder, and a specialized crafting heat tool to melt the powder into a raised, glossy finish. This classic technique adds a luxurious, tactile dimension to rubber stamp designs, making sentiments and intricate patterns stand out. The standard workflow begins by stamping your image with a sticky, slow-drying ink—typically a clear watermark ink or a thick pigment ink—which remains wet long enough for you to sprinkle embossing powder over the impression. After tapping off the excess powder, you apply heat using a dedicated craft heat tool, which melts the tiny plastic granules into a smooth, raised barrier.

Before attempting this technique, you must check your paper manufacturer’s heat tolerance and thickness specifications. Thin or delicate papers, such as lightweight vellum or standard copy paper, are highly susceptible to scorching, curling, or severe warping when exposed to the intense, concentrated heat of a craft tool. Using a heavy cardstock designed to withstand high temperatures ensures the paper remains flat and unblemished during the melting process.
Additionally, you should verify that your rubber stamp material can handle accidental heat exposure. While high-quality red rubber stamps are generally heat-resistant, some clear photopolymer stamps can warp or degrade if they come into direct contact with extreme heat. Never point your heat tool directly at your stamps, and always test the tool’s distance and temperature on a scrap piece of paper first to find the sweet spot where the powder melts cleanly without scorching the fibers underneath.
How do you adapt rubber stamp uses for mixed media and textured backgrounds?
Adapting rubber stamps for mixed media involves stamping over, under, or directly into textured mediums like modeling paste, watercolor washes, and acrylic paints to create complex, tactile backgrounds. This approach moves beyond traditional flat cardmaking, allowing you to treat your stamps as texture tools rather than just ink transfer devices. For example, you can press a clean, uninked rubber stamp directly into wet texture paste to leave a debossed impression, or you can stamp a crisp archival ink design over a completely dry watercolor wash to create a beautiful, layered artistic effect.
When combining stamps with wet or textured media, you must carefully check the porosity and chemical composition of your background surface. Non-porous surfaces, such as dried acrylic paint or heavy gesso, will not absorb standard water-based dye inks, causing the ink to bead up, smear, or fail to dry entirely. For these surfaces, a permanent solvent-based or archival pigment ink is usually required to ensure proper adhesion and crisp lines.
Furthermore, you must be aware that some solvents, wet media, or protective sealants can reactivate or dissolve your stamped images. If you plan to apply a watercolor wash or a liquid varnish over a stamped design, you must verify that your stamping ink is fully waterproof once dry. Always perform a compatibility test on a small sample of your mixed-media background to ensure that your topcoats or wet layers do not liquefy and smear your stamped details.
Which ink and paper specifications must you verify before trying advanced techniques?
Before attempting advanced stamping techniques, you must cross-reference the chemical properties of your ink with the physical specifications of your paper to ensure they can handle the physical stress of layering, heating, or wet media. Not all stationery products are created equal, and mismatching your consumables can lead to bleeding, warping, or faded designs over time. Start by checking the product labels on your ink pads to identify key properties such as water resistance, fade resistance, archival quality, and chemical reactivity. For instance, archival-quality inks are essential if you want your projects to resist yellowing and degradation over the years, while water-resistant inks are non-negotiable for watercolor techniques.
Next, examine your paper’s specifications, focusing on sizing, weight, surface coating, and grain direction. Paper sizing—the chemical treatment applied during manufacturing to control absorbency—determines how quickly ink dries and whether it will feather or bleed. Coated papers, such as glossy cardstock, offer incredibly crisp stamped lines but require much longer drying times, whereas heavy, uncoated mixed-media papers are ideal for absorbing wet layers without warping.
If your product labels lack clear compatibility information regarding heat tools, specific solvents, or mixed-media applications, stop your project immediately. Rather than risking damage to your expensive stamps or materials, consult the manufacturer’s official guidelines or reach out to a qualified crafting professional to verify that your tools and media are safe to use together.

Community discussion
Share your experience or ask a question. Comments are reviewed before publication.