
Choosing the right weekly planner notebook often comes down to how your brain processes time and tasks. If your days are packed with hourly appointments, meetings, and strict schedules, a vertical layout with structured columns offers the visual time-blocking you need. Conversely, if your planning style leans toward open-ended to-do lists, daily journaling, or long-form notes, a horizontal layout with wide rows provides the necessary breathing room. Selecting the right format requires looking closely at how you allocate space, how your eyes scan a page, and how you physically write out your weekly commitments.
Understanding Horizontal and Vertical Weekly Spreads
A weekly planner notebook typically presents an entire week across a two-page spread, but the orientation of the daily blocks changes how you interact with the paper. In a horizontal layout, the pages are divided into horizontal rows. Usually, the left page contains the first half of the week, while the right page holds the remaining days and perhaps a small notes section. This landscape-style division mimics the natural layout of a standard lined notebook, making it instantly familiar to anyone who is used to traditional journaling or note-taking.
In contrast, a vertical layout divides the two-page spread into vertical columns, with each day of the week occupying its own column from top to bottom. This portrait-style structure aligns the days side-by-side across the spread, creating a chronological timeline that reads from left to right. The vertical format is heavily inspired by digital calendars and professional appointment books, where time flows downward throughout the day.
Products mentioned in this guide
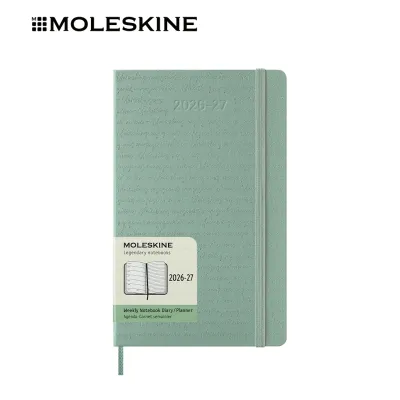
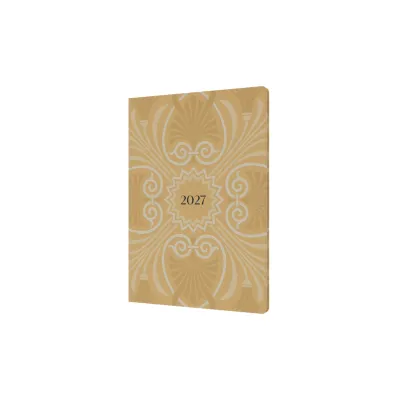
5 Lazada user ratings
🛠️Durability:very good 🧵Material:very good 💰Price:very good repeat order for this model. nice!
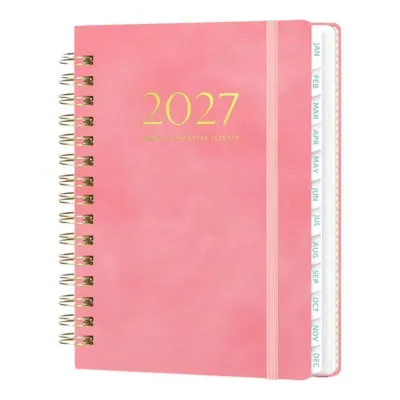
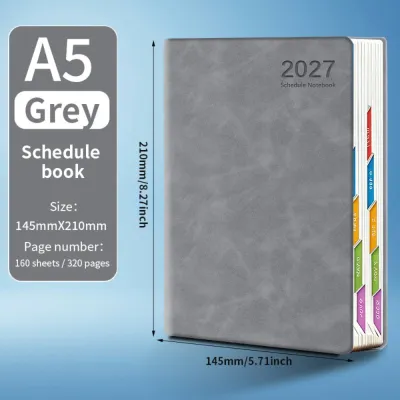
9 Lazada user ratings
It comes with only the delivery plastic bag and the book has some dented on the side. Nevertheless, it is not obvious. I find limited space …Read full reviewShow less
It comes with only the delivery plastic bag and the book has some dented on the side. Nevertheless, it is not obvious. I find limited space for me to jot down my monthly plan as the monthly plan is 1 page per month instead of 2 pages per month.
bought for this for $20 after voucher and discount. buying in online is more cheaper than in shopping mall
Received in good condition
Good Design
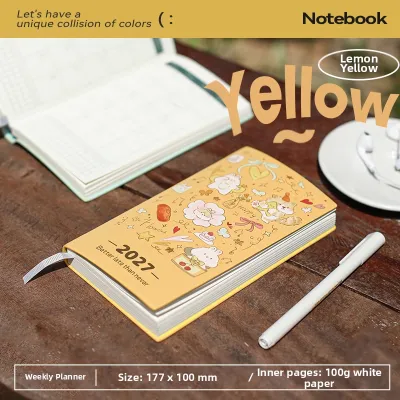
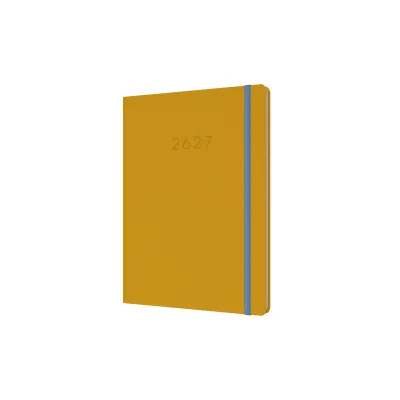
129 Lazada user ratings
I am absolutely in love with this planner! The paper is thick and smooth, allowing for a clean writing experience without any ink bleeding. …Read full reviewShow less
I am absolutely in love with this planner! The paper is thick and smooth, allowing for a clean writing experience without any ink bleeding. The layout is neat and clear, and the combination of weekly and daily sections is super practical for organizing my to-dos and weekly summaries. It is the perfect portable size to carry in my bag, and using it to plan my life truly brings me so much happiness!
This weekly planner is amazing! The soft leather cover feels so smooth and premium. The A6 size is perfect for carrying in my pocket on the …Read full reviewShow less
This weekly planner is amazing! The soft leather cover feels so smooth and premium. The A6 size is perfect for carrying in my pocket on the go. The paper is thick enough to prevent ink bleeding and offers a smooth writing experience. It is so helpful for staying disciplined, highly recommended!
The colors are so soft and fresh! The A6 size fits perfectly in my bag, and the cover feels great. The pages are thick enough that ink doesn…Read full reviewShow less
The colors are so soft and fresh! The A6 size fits perfectly in my bag, and the cover feels great. The pages are thick enough that ink doesn't bleed through, and the daily, weekly, and monthly layouts are super practical. A must-have for office life!
It looks so good and really puts me in a great mood whenever I use it. It's also super easy to carry around and fits perfectly in my bag. Ve…Read full reviewShow less
It looks so good and really puts me in a great mood whenever I use it. It's also super easy to carry around and fits perfectly in my bag. Very practical!
The quality of this planner is great. The soft leather cover is exquisite and looks nice. The paper is smooth, making it very easy to write …Read full reviewShow less
The quality of this planner is great. The soft leather cover is exquisite and looks nice. The paper is smooth, making it very easy to write on.
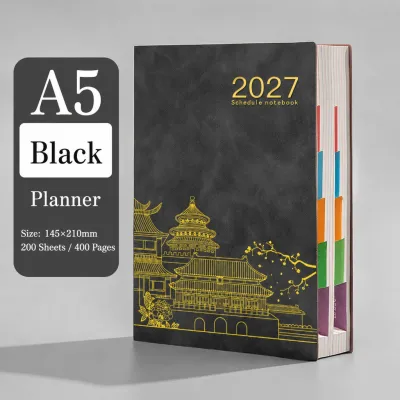
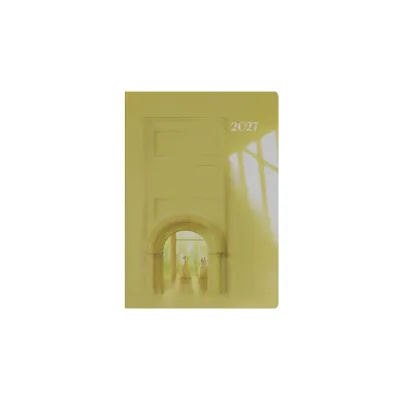
6 Lazada user ratings
Design: Nice 💰Price: Reasonable 🛠️Durability: Good 🧵Material: Good
Prices are valid at publication and may change. Please refer to the product page for the latest price.
These structural differences fundamentally alter how your hand moves across the page. Writing in a horizontal layout allows for long, continuous pen strokes across a wide line, which is highly comfortable for standard cursive or print handwriting. A vertical layout, however, forces your hand to work within narrow boundaries, requiring shorter words, abbreviations, or vertical list structures. Understanding this physical relationship between your pen and the page is the first step in finding a format that feels natural rather than restrictive.
Comparing Space Allocation and Writing Capacity
The physical dimensions of your daily blocks dictate how much information you can record and how you must structure your thoughts. Horizontal spreads offer wide, expansive lines that are highly suited for writing full sentences. If you like to record detailed task descriptions, write down daily reflections, or use your planner as a memory-keeping journal, the horizontal format provides the horizontal runway your pen needs. You do not have to worry about running out of room mid-word or squeezing your handwriting into tiny letters.

Vertical spreads, on the other hand, trade width for vertical depth. Because a two-page spread must accommodate seven or eight columns, each daily column is relatively narrow. This layout is highly suited for short bullet points, quick appointment times, and concise task labels. If you try to write long sentences in a vertical column, you will find yourself constantly hyphenating words or wrapping text onto multiple lines, which can quickly make the page look cluttered and difficult to read.
Another critical factor to consider is how each layout handles weekend space. Many planners compress Saturday and Sunday into smaller blocks to save space for the workweek. In a horizontal planner, weekends might share a single row or be split into half-sized boxes at the bottom of the right-hand page. In a vertical planner, Saturday and Sunday columns are often halved horizontally or pushed to a shared column at the far right. If your weekends are just as busy as your weekdays, you must carefully check whether a layout offers equal column widths or full-sized rows for Saturday and Sunday.
Visual Overview and Daily Task Tracking
The way your eyes scan your planner affects how quickly you can assess your workload and plan your next steps. A horizontal layout establishes a left-to-right chronological flow that reads like a book. You look at the top left to start your week and move your eyes across and down to follow the narrative of your days. This format is excellent for tracking ongoing projects or viewing your week as a continuous story, but it can make it harder to compare specific times of day across different dates.
A vertical layout excels at providing an immediate, high-level overview of your time commitments. Because the columns sit side-by-side, you can scan horizontally across the pages to see what your mornings, afternoons, or evenings look like throughout the entire week. If you have a meeting at 2:00 PM on Tuesday, you can easily see if you have open space at that same hour on Wednesday or Thursday. This visual alignment makes time-blocking highly intuitive and helps prevent over-scheduling.
Beyond the daily blocks, weekly planners often include extra spaces for goals, habit trackers, or general notes. Horizontal layouts frequently place these elements in a dedicated column on the far right or in a small box at the bottom of the page. Vertical layouts often utilize the top or bottom of each column for daily priorities, or they reserve a column on the far left for weekly to-do lists. Consider how much you rely on these auxiliary tracking tools, as their placement can either enhance your workflow or crowd your daily writing space.
Matching Layouts to Your Planning Style
To choose the right layout, you must align the planner’s structure with your actual daily habits and cognitive preferences.
Choose a horizontal layout if your planning style is flexible, task-oriented, or reflective. This format is well-suited for list-makers who prefer to write down a master list of tasks for each day without assigning them to specific hours. It is also a common choice for those who use their planner for journaling, gratitude lists, or creative writing, where the physical act of writing longhand is a priority. If your daily task volume fluctuates wildly—some days having only one major chore and others having ten—the open rows of a horizontal layout allow you to adjust your spacing dynamically without leaving awkward blank gaps.
Choose a vertical layout if your life is governed by appointments, meetings, and strict schedules. This format is highly suited for students, freelancers, and professionals who need to block out specific hours for deep work, classes, or client consultations. If you use a bullet journal style with short, actionable signifiers, the narrow columns will feel highly efficient. The vertical structure acts as a visual container for your day, helping you see exactly when you are busy and when you have free time to tackle your tasks.
However, neither format may fit your needs if you require massive amounts of daily writing space or prefer complete freedom. If you find yourself running out of room in both horizontal rows and vertical columns, you may need to transition to a daily planner notebook, which dedicates an entire page to a single day. Alternatively, if you find pre-printed grids and dates restrictive, a completely unstructured notebook with blank, dotted, or grid pages will allow you to draw your own layouts as your needs change from week to week.
Practical Features to Check Before Buying
Once you have decided on a layout, several physical attributes of the weekly planner notebook will determine how comfortable it is to use daily.
First, consider the notebook size and how it scales the layout. In an A5 notebook, which is a highly popular portable size, a vertical layout will have very narrow columns, often measuring less than four centimeters wide. If you have large handwriting, this can make a vertical layout frustrating to use, and you might want to opt for a larger B5 or A4 size to gain wider columns. Conversely, a horizontal layout in an A5 notebook still offers a comfortable line length for writing, making it a safer choice for smaller, more portable planners.
Second, pay close attention to paper quality and how it interacts with your writing instruments. Because a weekly planner is meant to last an entire year, you want paper that resists ink feathering, ghosting, and bleed-through. If you prefer using fountain pens, gel pens, or wet ink markers, look for planners that specify high-density paper, typically 80 gsm (grams per square meter) or higher, or those featuring specialized paper known for ink compatibility. You can verify this by performing a small test in the back pages of the notebook with your favorite pens before committing to your main weekly spreads.
Finally, the binding type plays a massive role in how easily you can write near the center of the page. A lay-flat thread binding allows the notebook to open completely flat on your desk, ensuring you can write comfortably across the entire width of both pages without fighting a curved gutter. Spiral or wire-bound planners also lay flat and allow you to fold the notebook in half to save desk space, though the central rings can sometimes get in the way of your hand when writing near the margins. Avoid stiff, glued bindings that force you to hold the pages down with one hand while writing with the other.
Final Selection Rules for Your Weekly Planner Notebook
To make your final decision, take a few practical steps to ensure your chosen planner matches your real-world writing habits.
Start by measuring your natural handwriting size. Write a few typical daily tasks on a piece of scrap paper, then measure the width and height of your sentences. Compare these measurements to the column widths of any vertical planner or the row heights of a horizontal planner you are considering. If your natural writing style requires more horizontal space than a vertical column provides, a horizontal layout is likely the more sustainable choice for your daily comfort.
Next, review your past week’s schedule objectively. Look at your digital calendar or old notes to see if your days are defined by specific times or by general tasks. If you see a pattern of hourly appointments and time-sensitive commitments, a vertical layout will help you manage that time visually. If your schedule consists of a long list of tasks that can be done at any point during the day, a horizontal layout will give you the flexibility to organize those tasks without the pressure of an hourly timeline.
Finally, always verify the exact interior layout of the planner before purchasing. Many notebooks have beautiful covers but do not clearly display their weekly spreads on the packaging. Look for detailed interior photos online, check for layout diagrams on the back cover, or examine a physical sample in a stationery store. Confirming the line spacing, weekend column sizes, and additional notes sections beforehand ensures that your weekly planner notebook will be a functional tool that supports your productivity all year long.

Community discussion
Share your experience or ask a question. Comments are reviewed before publication.