
Creating a custom magnetic whiteboard allows you to transform any flat wall, cabinet, or door into an interactive hub for brainstorming, organizing, or displaying notes. By mounting a flexible magnetic sheet to your chosen surface and applying a dry-erase finish, you can bypass the size limitations and bulky frames of traditional pre-made boards. The entire process requires only basic measuring, cutting, and mounting skills, making it an accessible weekend project for home offices, classrooms, and creative spaces. To ensure a successful installation, you must select the correct type of sheet material, prepare the underlying surface thoroughly, and apply the layers with steady pressure to avoid air bubbles.
Understanding Material Types and Surface Requirements
Before purchasing your materials, you must distinguish between two fundamentally different products: magnetic receptive sheets and standard magnetic sheets. A magnetic receptive sheet does not contain its own magnetic field; instead, it is embedded with ferrous powder, acting like a sheet of steel that allows magnets to cling to it. This is the correct material to use as the base for a custom whiteboard. Conversely, a standard magnetic sheet is magnetized itself and is designed to stick to metal surfaces like refrigerators or filing cabinets. If you mistakenly purchase a standard magnetic sheet for your wall, you will find that magnets will not stick to it effectively, and the sheet itself will not cling to non-metal drywall without heavy adhesives.
Once you have confirmed you have a magnetic receptive sheet, you must evaluate the target installation surface. Drywall, glass, smooth wood, and metal are excellent candidates, provided they are completely flat and free of texture. Heavily textured plaster, brick, or porous concrete walls present significant challenges because the uneven surface prevents the adhesive from making full contact, which can lead to peeling over time. Additionally, verify the weight-bearing capacity of your wall, as thick magnetic sheets can be surprisingly heavy when rolled out over a large area. Always check the manufacturer’s product label to verify the sheet’s dimensions, thickness, and adhesive compatibility before beginning your project.
Products mentioned in this guide
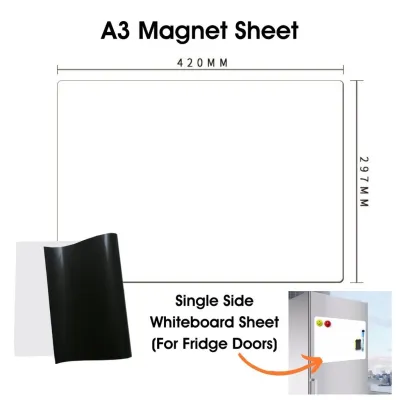
30 Lazada user ratings
Versatile and multi-functional, Ideal for planning and scheduling, I am very happy with this set and the board.
Repeat purchase, really good quality fridge magnet board I love this
Good stuff, as expected delivered well received well packed
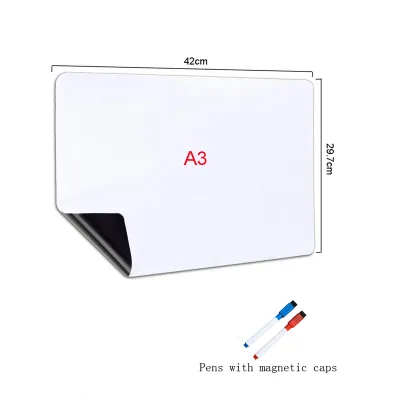
216 Lazada user ratings
Ease of Use:Great addition to the kitchen, Strong magnet, Easy to clean, Durability:Durable and long-lasting, Portability:Convenient and pra…Read full reviewShow less
Ease of Use:Great addition to the kitchen, Strong magnet, Easy to clean, Durability:Durable and long-lasting, Portability:Convenient and practical, Great for organizing, Useful for reminders and notes, Helps keep track of groceries, Great for organizing, Great addition to the kitchen,
Flexible and erasable, Convenient for writing and erasing, Easy to stick on the refrigerator, Comes with 2 markers for A4 size,
Magnetic board holds securely, Compact design saves space, Perfect for meal planning, Compact design saves space,
Writes well. Cleans well. Sticks well to the fridge as well. The pens are so-so, but they work well enough.
Strong magnet, Easy to clean, Convenient and practical, Useful for reminders and notes,
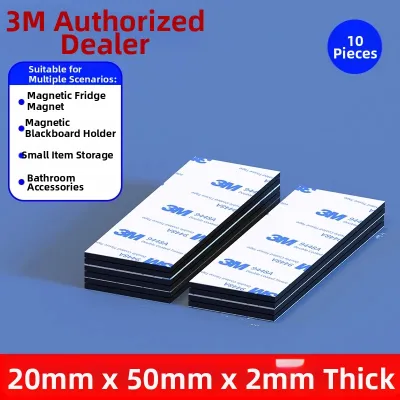
12 Lazada user ratings
It’s a 3M product, but the magnet isn’t very strong. Overall still okay, but could be better.
Delivered as ordered. Haven’t use.
Ease of Use: good
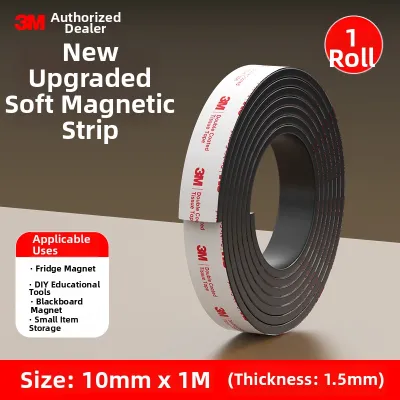
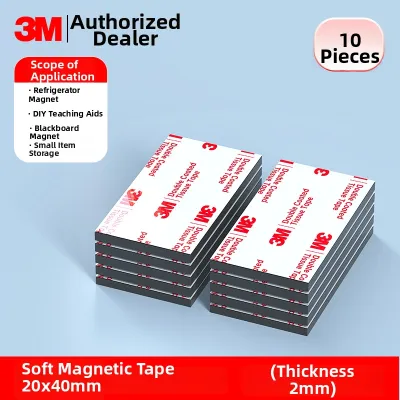
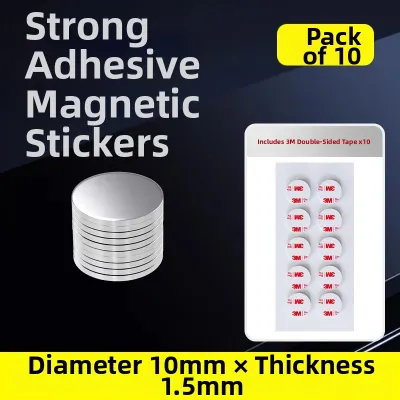
3 Lazada user ratings
Doesn't damage the wall after application. Very happy with the product, it feels secure once it's on the wall.
Too strong. Dont know how to fix as there is no tape provided
Prices are valid at publication and may change. Please refer to the product page for the latest price.
Tools and Materials Checklist
Gathering all your tools and materials beforehand ensures a smooth, uninterrupted installation process. For your core materials, you will need a high-quality magnetic receptive sheet and a compatible dry-erase film if your sheet does not come with a pre-applied whiteboard coating. If you are not using a self-adhesive sheet, you must also secure a specialized adhesive recommended by the manufacturer, such as a heavy-duty contact cement or wallcovering adhesive.

Your tool kit should include a precise measuring tape, a sharp utility knife or heavy-duty shears for clean cuts, and a spirit level to keep your lines perfectly straight. A squeegee, hard rubber roller, or clean wooden block wrapped in a soft cloth is essential for smoothing out the material and removing trapped air. Keep several microfiber cloths and a mild, residue-free surface cleaner nearby to prepare the wall. Finally, wear protective work gloves and safety glasses when cutting the tough sheet material or working with strong liquid adhesives to prevent accidental cuts or chemical splashes.
Step-by-Step Installation Process
Transforming a plain wall into a fully functional magnetic whiteboard requires a methodical approach. The installation workflow progresses from preparing the wall surface to measuring, cutting, mounting the magnetic base, and finally sealing it with a writable dry-erase layer. Taking your time during each phase is critical, as rushing can lead to misaligned sheets, trapped air pockets, or poor adhesive bonding that is difficult to correct later.
Preparing and Cleaning the Surface
The longevity of your custom whiteboard depends heavily on how well the adhesive bonds to the wall, which requires a spotless foundation. Begin by removing all dust, grease, fingerprints, and old wallpaper residues from the target area using a mild cleaner and a microfiber cloth. Allow the surface to dry completely, as any trapped moisture can compromise the adhesive or cause mold to develop behind the sheet.
Inspect the wall closely for any physical imperfections such as cracks, dents, or protruding nail heads. Use a suitable wall filler to patch any holes, let it dry, and sand the area smooth until it is flush with the surrounding wall. Once the surface is flat and clean, use a spirit level and a pencil to draw precise horizontal and vertical reference lines. These guidelines will serve as your visual anchor, ensuring that you mount the heavy sheet perfectly straight without relying on crooked floorboards or ceiling lines.
Measuring, Cutting, and Dry-Fitting
Accurate measurements prevent costly material waste and ensure your whiteboard fits its designated space perfectly. Measure your marked wall area twice, then transfer these dimensions to the back of your magnetic receptive sheet using a pencil and a straight edge. If you are planning a floor-to-ceiling installation or fitting the sheet into a tight alcove, consider leaving a tiny edge allowance of two to three millimeters, which you can trim down precisely after mounting.
Place the magnetic sheet flat on a clean, protected work surface, such as a large cutting mat or a sheet of thick cardboard. Using a sharp utility knife guided by a heavy metal ruler, make multiple shallow passes along your marked lines rather than trying to cut through the thick material in a single stroke. Once the sheet is cut to size, hold it up against your pencil marks on the wall for a dry-fit. This step allows you to verify the alignment, check the corners, and make any necessary minor trims before any adhesive is exposed.
Applying Adhesive and Mounting the Sheet
Mounting the sheet requires steady coordination to prevent alignment errors and air bubbles. If you are using a self-adhesive magnetic sheet, peel back only the first ten to fifteen centimeters of the protective backing paper from the top edge. If you are using a separate liquid adhesive, apply it evenly to the wall or the back of the sheet according to the manufacturer’s specific instructions, ensuring full coverage right up to the very edges.
Align the top edge of the sheet precisely with your horizontal pencil line on the wall, and press it firmly into place. Slowly work your way down the wall, peeling away the backing paper in small increments while pressing the sheet against the surface. Use a squeegee or a rubber roller to apply firm, even pressure, working from the center of the sheet outward to the edges. This outward motion pushes out trapped air and ensures the adhesive forms a complete, uniform bond with the wall surface.
Adding the Dry-Erase Whiteboard Finish
If your magnetic receptive sheet does not feature a built-in whiteboard surface, you must apply a separate dry-erase film to make it writable. Treat this film with the same care as the magnetic layer, peeling the backing slowly and applying it directly over the mounted magnetic sheet. Use your squeegee with gentle, sweeping strokes to smooth out the film, taking care not to scratch the delicate writing surface.
Once the dry-erase film is fully applied, use your utility knife to trim away any excess material along the outer borders, ensuring the edges of both layers are perfectly flush. Run your roller firmly along the entire perimeter of the board to seal the edges and prevent them from lifting in the future. Finally, resist the temptation to write on your new board immediately; allow the adhesive to cure undisturbed for the exact timeframe recommended by the manufacturer, which is typically twenty-four to forty-eight hours.
Testing and Daily Maintenance
After the curing period is complete, you can safely test and begin using your custom magnetic whiteboard. Start by testing the holding strength of your magnets; lightweight, flat magnets or neodymium magnets generally work best on magnetic receptive sheets, while heavy, bulky magnets may slide if the sheet’s ferrous content is low. Next, write a small test note with a high-quality dry-erase marker in one corner, let it sit for a few minutes, and wipe it away to verify that the surface erases cleanly without leaving ghosted residues.
To maintain the pristine look of your whiteboard, establish a gentle daily cleaning routine. Use clean microfiber cloths or felt erasers for everyday clearing, as they trap marker dust without scratching the surface. For deeper cleaning, apply a specialized whiteboard cleaning spray or a damp cloth with mild soap, then dry the surface thoroughly with a clean towel. Never use abrasive scrubbing sponges, steel wool, or harsh chemical solvents like acetone or bleach, as these substances will permanently strip away the protective dry-erase coating and ruin the board’s write-on, wipe-off capability.
Troubleshooting Common Installation Issues
Even with careful planning, DIY installations can sometimes encounter minor setbacks that require quick solutions. If you notice small air bubbles trapped beneath the surface after mounting, do not attempt to peel the entire sheet back up, as this can stretch the material or ruin the adhesive. Instead, use a fine sewing needle to puncture the center of the bubble, then use your squeegee to gently push the trapped air out through the tiny hole, smoothing the sheet flat against the wall.
Peeling edges are another common issue, often caused by insufficient adhesive application near the borders or slight wall textures that prevent a flush fit. To resolve this, gently lift the peeling section, apply a small amount of heavy-duty adhesive or border glue behind it using a small brush, and press it firmly back down. Secure the edge with low-tack painter’s tape for twenty-four hours to hold it in place while the new adhesive cures.
If you experience a weak magnetic hold where your magnets constantly slide down the board, the issue is usually related to either the magnets or the sheet thickness. First, verify that you did not accidentally install a standard magnetic sheet backward, as the receptive side must face outward. If the installation is correct, the solution is often as simple as switching to lightweight, high-strength neodymium magnets, which are specifically designed to hold papers securely on thin, ferrous receptive surfaces.
Frequently Asked Questions (FAQ)
Can I install a magnetic sheet over existing wallpaper?
Installing a magnetic sheet directly over existing wallpaper is generally not recommended. The weight of the heavy magnetic sheet, combined with the pull force of removing magnets, can easily stress the wallpaper’s original adhesive, causing the wallpaper to peel away from the wall entirely. For a secure, long-lasting installation, it is best to strip the wallpaper, clean and prime the underlying drywall, and mount the magnetic sheet directly to the solid wall surface.
Will strong magnets damage the dry-erase surface?
Strong magnets themselves will not damage the dry-erase surface, but rough handling or abrasive backings can cause scratches. To protect your board, choose magnets that have smooth plastic, rubber, or felt backings, and avoid dragging them across the surface when moving them. If you are using raw metal magnets, you can apply a small piece of clear adhesive tape to their contact side to act as a protective barrier against scratching.
How do I remove the magnetic sheet if I move out?
The difficulty of removing a magnetic sheet depends entirely on the type of adhesive used during installation. For self-adhesive sheets or strong wall glues, you can use a handheld heat gun or a hair dryer set to medium heat to gently warm the surface, which softens the adhesive backing. Slowly peel the sheet away from the wall at a sharp angle to minimize damage to the drywall, and consult a professional plasterer or painter if you need to repair minor surface tears or adhesive residue left behind.
Community discussion
Share your experience or ask a question. Comments are reviewed before publication.